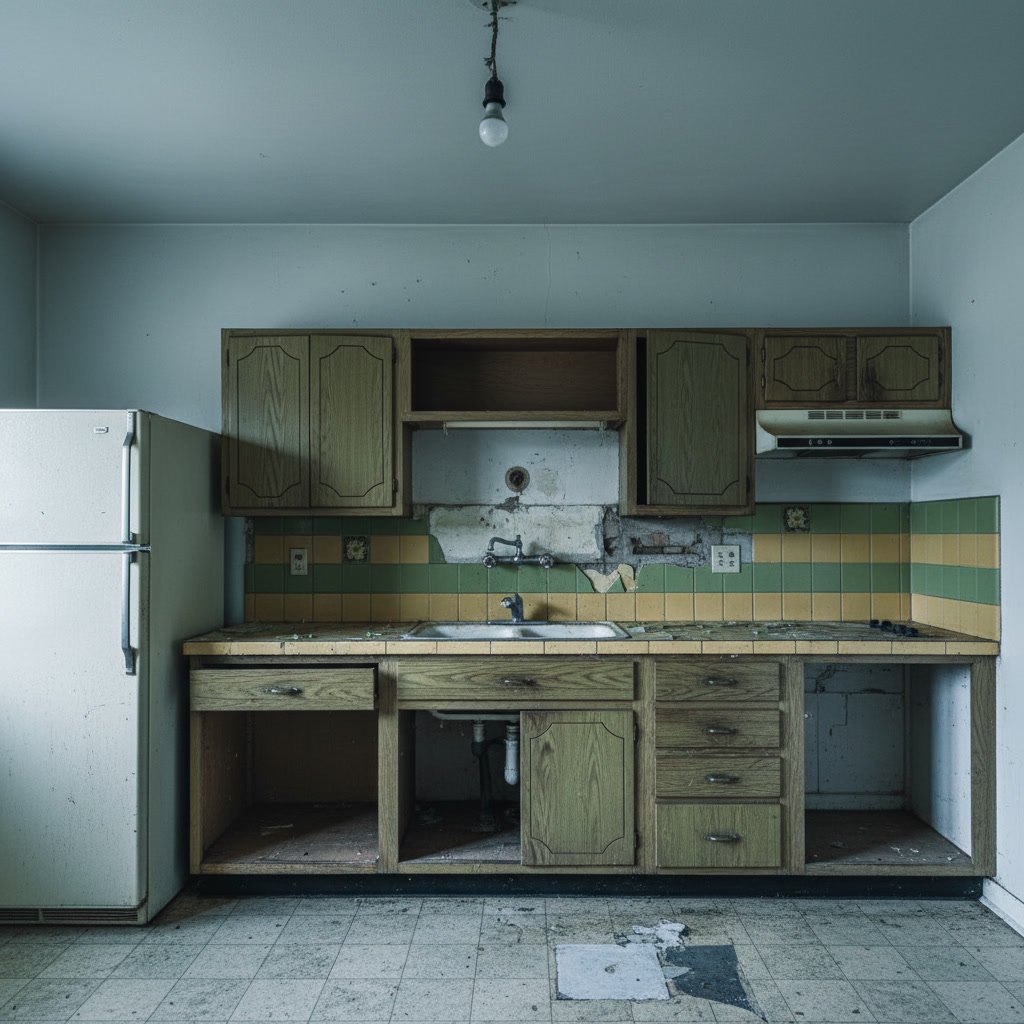

Understanding how kitchen remodel works means knowing the sequence of decisions, trades, and inspections that turn an outdated space into a functional room tailored to your needs. Most projects move through five core phases: planning and design, demolition, rough-in work (electrical, plumbing, HVAC), installation of cabinets and finishes, and final details. Each phase depends on the one before it, and skipping steps or rushing decisions often leads to costly corrections later.
Why Kitchen Projects Require More Planning Than Other Rooms
Kitchens pack more systems into fewer square feet than any other room in your home. You’re coordinating electrical circuits for appliances, plumbing supply and drain lines, gas connections if applicable, ventilation ductwork, and lighting on multiple switches. Add cabinets, countertops, backsplash tile, and flooring, and you have at least eight different trades working in sequence.
Each trade’s work must pass inspection before the next crew starts. A misstep in plumbing rough-in can delay cabinet installation by days or weeks. This interdependency makes upfront planning non-negotiable. Homeowners who finalize their layout, appliance specs, and material selections before demolition starts typically finish on schedule and within budget.
Setting Your Budget and Scope Before You Begin
Your budget determines not just finishes but also structural possibilities. Moving a sink across the room means rerouting drain lines, possibly cutting into floor joists, and adding vent stacks. Relocating a range requires new gas lines or upgraded electrical service. These changes cost more than swapping cabinets.
Allocate roughly 20 percent of your budget as a contingency. Hidden issues surface once walls open: rotted subfloors near old dishwashers, outdated knob-and-tube wiring, or plumbing that doesn’t meet current code. Addressing these isn’t optional, and the contingency keeps the project moving without emergency credit card charges.

The Design Phase: Layouts, Materials, and Appliances
Design starts with measuring the existing space, noting window and door locations, and identifying which walls are load-bearing. A good layout respects the work triangle (the path between sink, stove, and refrigerator) while adding counter space where you actually prep food.
You’ll select cabinets first because their dimensions dictate countertop cuts, backsplash area, and appliance fit. Stock cabinets ship quickly but offer limited sizes. Semi-custom cabinets allow you to adjust widths in three-inch increments and choose door styles, while full custom cabinets accommodate any dimension and unique storage solutions like pull-out spice racks or appliance garages.
Appliance specs must be locked in during design. A 36-inch range needs a different cabinet opening than a 30-inch model, and counter-depth refrigerators require different clearances than standard-depth units. Changing your mind after cabinets are ordered means reordering or living with gaps.
Permits and Approvals in Middlesex County
Most kitchen remodels in Middlesex require building permits for electrical, plumbing, and structural work. Your contractor pulls these permits and schedules inspections at key milestones: after rough framing, after rough electrical and plumbing, and before closing walls.
Permit review can take one to three weeks depending on the municipality and scope. Projects that add square footage or alter exterior walls face longer review. Factor this time into your project schedule. Starting demolition before permits arrive risks stop-work orders and fines.
Demolition and Preparing the Space
Demolition reveals what’s behind the walls. Contractors remove old cabinets, countertops, flooring, and often drywall to access plumbing and wiring. If you’re keeping appliances, they’re disconnected and moved to storage or another room.
Dust containment matters. Plastic sheeting seals doorways, and negative air machines filter airborne particles. Even with precautions, expect fine dust to migrate beyond the work zone. Cover furniture in adjacent rooms and plan meals that don’t require your kitchen for four to eight weeks depending on scope.

Rough-In Work: The Hidden Systems
Once the space is open, electricians install new circuits for lighting, outlets, and hardwired appliances. Kitchens typically need at least two 20-amp small-appliance circuits, dedicated circuits for refrigerator and microwave, and a 40- to 50-amp circuit for an electric range. Undercabinet lighting, pendant lights, and recessed cans all get wired now.
Plumbers relocate or add supply lines and drains. If you’re moving the sink or adding a second sink in an island, drain lines must slope correctly (one-quarter inch per foot) to prevent clogs. Vent stacks tie into the main vent or run to the roof. Gas lines for ranges require pressure testing before the inspector approves.
HVAC adjustments come next if you’re changing the layout enough to affect airflow. Adding an island may block a floor register, requiring ductwork relocation. Range hoods need dedicated exhaust ducts vented to the exterior, not recirculating models that just filter and blow air back into the room.
Step-by-Step Installation Sequence
After rough-in inspections pass, installation follows a strict order. Drywall goes up and gets finished with tape, mud, and sanding. Primer and paint follow, ideally before cabinets arrive to avoid cutting in around boxes.
Cabinet installation starts with upper units, working from a level line marked on the wall. Installers shim and screw cabinets to studs, ensuring faces align perfectly. Base cabinets follow, leveled and secured before countertop templating.
Countertop fabricators measure after base cabinets are in place, cutting stone or quartz to fit exact dimensions and appliance openings. Installation happens one to two weeks after templating. Undermount sinks get attached to the countertop underside before it’s set, while drop-in sinks install after.
Backsplash tile follows countertops. Tile setters work from layout lines to keep grout joints even, cutting around outlets and ending at even points near windows or range hoods. Grout cures for 24 to 72 hours before sealing.
Flooring comes near the end. If you’re installing hardwood or luxury vinyl plank, it runs under cabinets in some designs or stops at cabinet toe kicks in others. Tile floors typically stop under cabinets to save material cost. Flooring protects the new surfaces, so contractors lay it after heavy cabinet work is done.
Final Fixtures and Trim
Electricians return to install outlets, switches, and light fixtures. Plumbers connect faucets, garbage disposals, and dishwashers. Appliances get set in place, leveled, and tested. Hardware (handles and knobs) goes on cabinet doors and drawers.
Trim carpenters install crown molding if your design includes it, along with any baseboards or shoe molding around flooring edges. Painters return for touch-ups where trim meets walls or cabinets got dinged during installation.

Inspections and Code Compliance
Final inspections verify that electrical, plumbing, and mechanical work meet code. Inspectors check outlet spacing (no more than four feet apart on countertops), GFCI protection near sinks, proper vent termination, and appliance clearances.
Failed inspections delay move-in. Common issues include incorrect wire gauge for circuit amperage, missing junction box covers, or drain traps installed backward. Experienced contractors know code requirements and pass inspections on the first attempt.
Managing the Timeline and Living Through Construction
A full kitchen remodel typically takes six to ten weeks from permit to completion. Smaller projects (cabinet reface with new countertops) may finish in three weeks. Additions that expand the footprint or require structural changes stretch to 12 weeks or longer.
Set up a temporary kitchen in another room with a microwave, toaster oven, and portable cooktop. Stock paper plates and disposable utensils. Plan easy meals or budget for takeout. The inconvenience is temporary, but underestimating it strains households.
Communication with your contractor keeps surprises minimal. Weekly check-ins review progress, upcoming material deliveries, and any changes. Document everything in writing. Verbal agreements about upgraded tile or additional outlets get forgotten when the bill arrives.
What Homeowners Overlook Until It’s Too Late
Lighting design gets shortchanged more than any other element. Homeowners pick cabinets and countertops but settle for builder-grade ceiling fixtures. Layered lighting (recessed cans for general light, undercabinet strips for task light, pendants for accent light) transforms functionality and ambiance.
Storage planning is another gap. Standard cabinets waste vertical space and deep corners. Pull-out shelves, lazy Susans, drawer dividers, and vertical tray slots cost a few hundred dollars more but make daily use dramatically easier. These add-ons must be specified during cabinet ordering, not after installation.
Electrical outlet placement often misses the mark. Outlets hidden behind small appliances are useless. Place outlets based on where you’ll actually use a blender, phone charger, or mixer. Include at least one outlet inside a cabinet for charging stations or hidden appliances.
Turning Your Vision Into Reality
A successful kitchen remodel depends on detailed planning, skilled trades working in sequence, and homeowners who make timely decisions. Projects that start with a clear budget, finalized design, and realistic timeline finish with fewer headaches and better results.
The difference between a smooth project and a stressful one often comes down to contractor experience. Teams that handle permitting, coordinate subs, and catch problems early keep you informed without making every small decision a crisis.
CT Home Remodeling LLC has guided homeowners through hundreds of kitchen transformations across Central and Eastern Connecticut for over 17 years, managing every phase from initial design to final walkthrough. If you’re ready to start your project with a team that understands how to deliver quality work on schedule, reach out at +18608086046 to discuss your goals and get a detailed project plan tailored to your home.