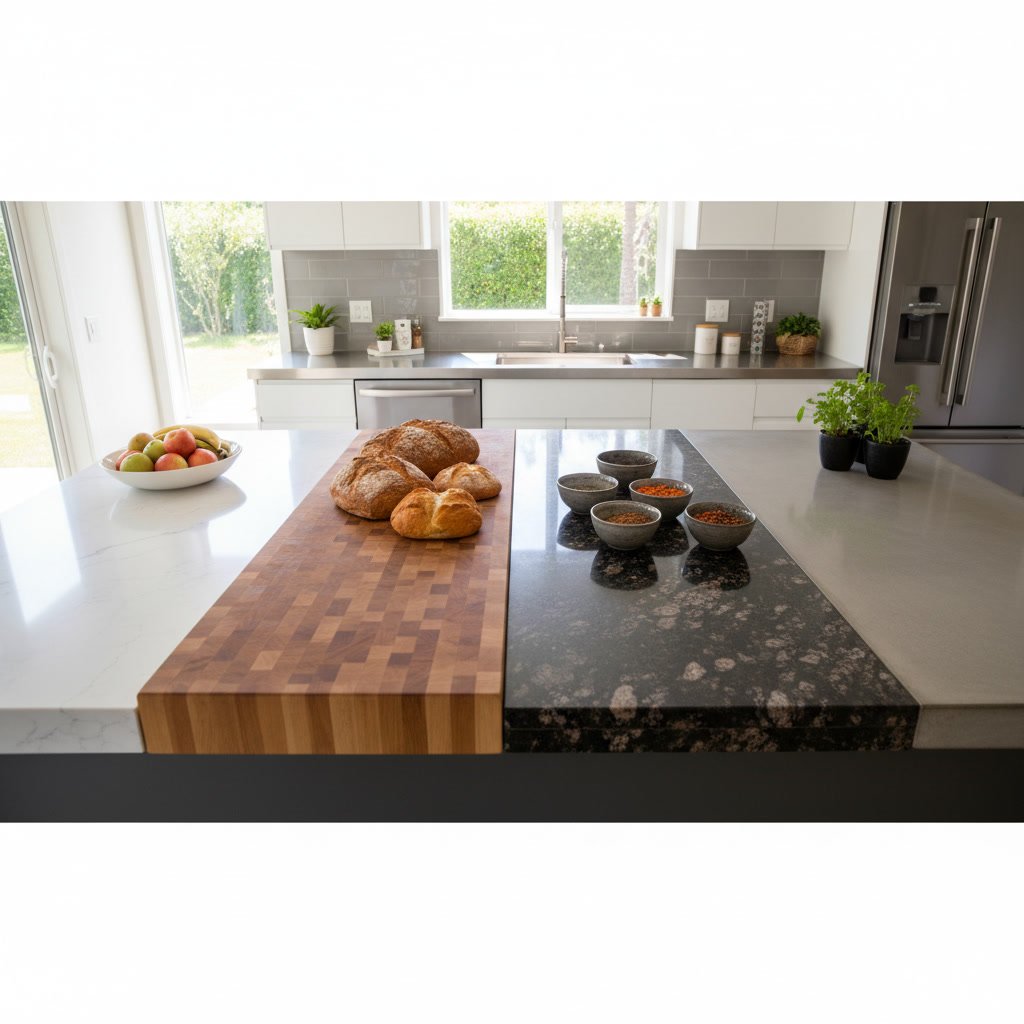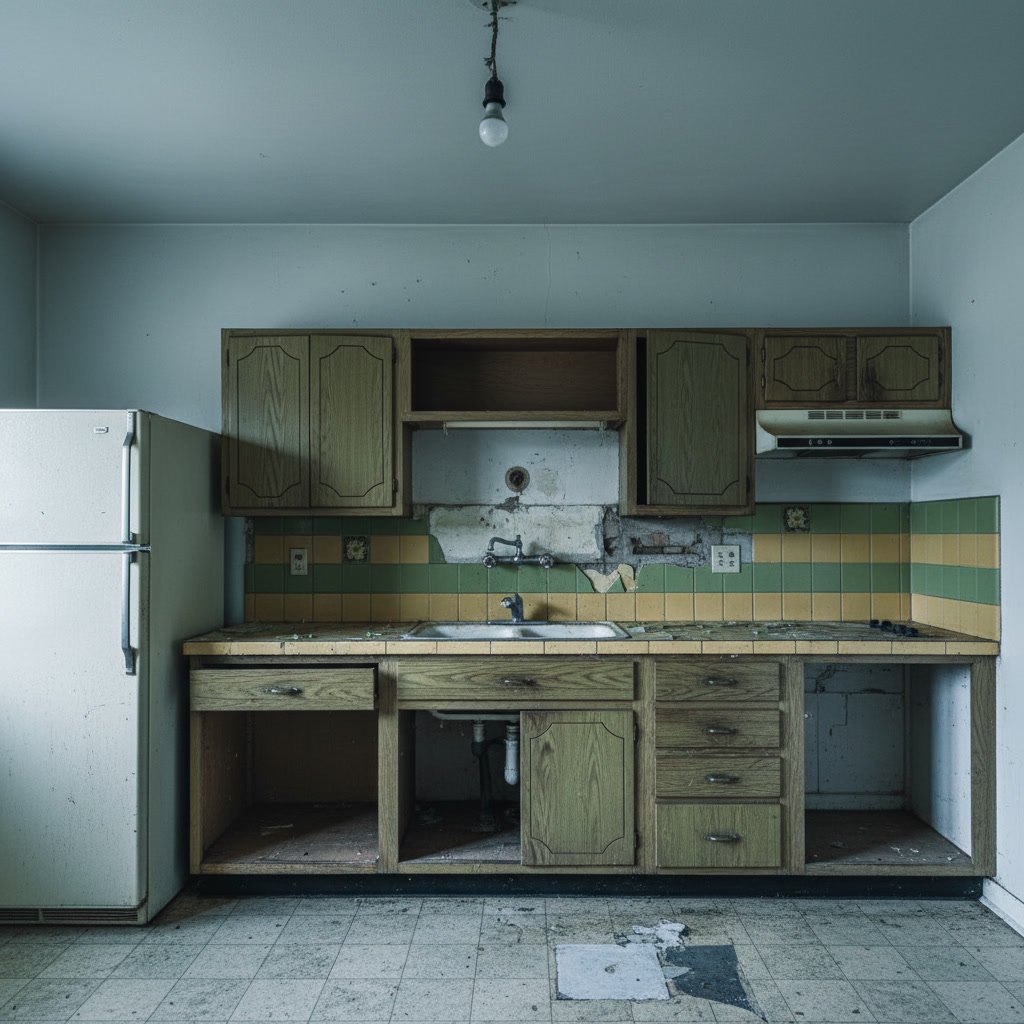

The layout you select for your kitchen remodel determines how efficiently you can cook, clean, and move through the space. To choose kitchen layout options that fit your home, you need to consider your room’s dimensions, how many people use the kitchen at once, and whether you entertain frequently. The right layout balances function with aesthetics and maximizes every square foot.
Why Layout Matters More Than Finishes
Cabinets, countertops, and appliances get most of the attention during a remodel, but your layout shapes how the kitchen actually performs. A beautiful backsplash won’t fix a cramped work triangle or awkward traffic flow. Professional designers spend significant time mapping out appliance placement, counter runs, and clearance zones before selecting materials.
Changing a layout typically costs more than cosmetic updates because it involves moving plumbing, electrical, and sometimes gas lines. That investment pays off when your kitchen feels spacious, organized, and intuitive to use. Homeowners who skip this step often regret it within the first year.
Understanding the Classic Work Triangle
The work triangle connects your sink, stove, and refrigerator in a triangular path. Ideally, the three legs of this triangle add up to between 13 and 26 feet, with no single leg shorter than four feet or longer than nine feet. This range keeps essential tasks close together without creating a cramped workspace.
Modern kitchens often deviate from the strict triangle, especially when multiple cooks share the space or when islands add secondary work zones. Still, the concept remains useful for evaluating whether your layout supports efficient meal preparation. If you find yourself walking long distances between the sink and stove, your triangle is too large.
L-Shaped Layouts for Open Floor Plans
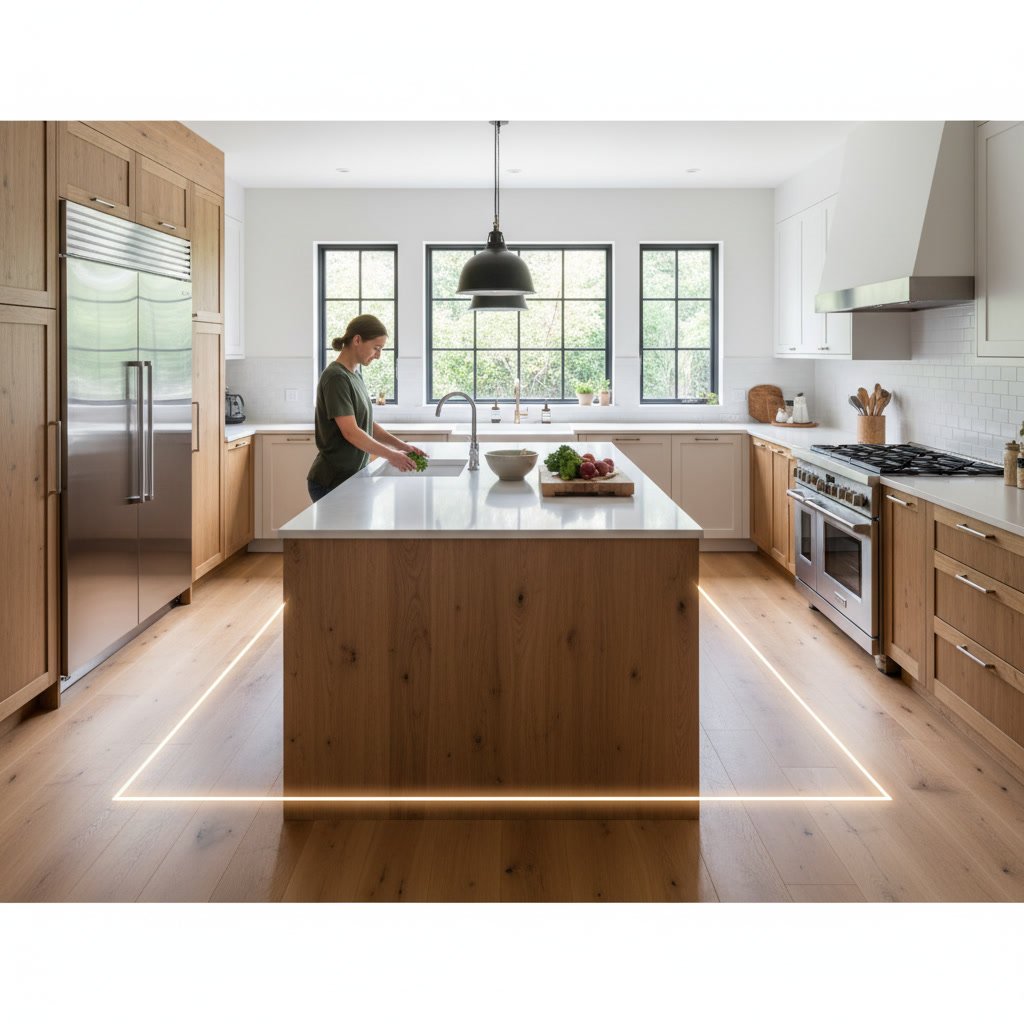
L-shaped kitchens position cabinets and appliances along two perpendicular walls, leaving the remaining sides open. This configuration works well in open-concept homes where the kitchen flows into a dining or living area. The open side allows for easy interaction with guests and family members without blocking sightlines.
One wall typically houses the sink and dishwasher, while the perpendicular wall accommodates the range and refrigerator. Adding an island creates additional counter space and storage without closing off the room. L-shaped designs adapt to both small and large spaces, making them one of the most flexible options available.
U-Shaped Kitchens Maximize Storage and Counter Space
A U-shaped layout surrounds you with cabinets and counters on three walls, creating a highly efficient workspace with minimal walking. This design suits dedicated kitchen rooms rather than open floor plans. The enclosed feeling provides focus and keeps distractions at bay while you cook.
The main challenge with U-shaped kitchens is ensuring adequate clearance between opposing walls. You need at least eight feet of width to avoid a cramped galley effect. Corner cabinets require pull-out organizers or lazy Susans to make the deep space accessible. When executed properly, this layout offers more storage than any other configuration.
Galley Kitchens for Narrow Spaces in Middlesex Homes
Galley kitchens feature two parallel runs of cabinets with a walkway between them. This layout appears frequently in older homes throughout Middlesex and other Connecticut counties, where room dimensions tend to be narrower. The compact footprint forces efficiency and keeps everything within arm’s reach.
A successful galley requires a minimum of 42 inches between cabinet faces to allow comfortable movement and appliance door clearance. If your galley opens at both ends, traffic flow can become an issue when people pass through while you’re cooking. Installing the sink and stove on the same wall minimizes interruptions.
Island and Peninsula Configurations
Islands sit in the center of the kitchen, accessible from all sides, while peninsulas attach to one wall or cabinet run and extend into the room. Both add counter space, storage, and seating options. An island requires at least 42 inches of clearance on all sides, so you need a room measuring roughly 12 by 12 feet or larger.
Peninsulas work in smaller kitchens where an island would block traffic. They also define the kitchen boundary in open floor plans without requiring full walls. Installing the cooktop or sink in an island creates a second work zone, ideal for households with multiple cooks. Consider electrical outlets, ventilation requirements, and plumbing access during the design phase to avoid costly changes later.
One-Wall Layouts for Small Footprints
A one-wall kitchen places all cabinets, appliances, and counter space along a single wall. This minimalist approach suits studio apartments, small condos, and basement kitchenettes. The compact design leaves maximum floor space open for dining or living areas.
The main drawback is limited counter space and storage. You’ll need to prioritize vertical storage with tall cabinets and open shelving. Placing the sink between the refrigerator and stove helps maintain a functional work triangle, even though all three elements sit in a line. Adding a small rolling cart or fold-down table can provide temporary prep space when needed.
How to Evaluate Your Space Constraints
Start by measuring your kitchen’s length, width, ceiling height, and the location of windows, doors, and permanent fixtures. Note where plumbing and gas lines currently run, as relocating them adds cost. Identify any structural elements like load-bearing walls or support columns that can’t be moved.
Consider sight lines from adjacent rooms. If your kitchen opens to a living area, you may want to position messy prep zones away from the main view. Traffic patterns matter too. Count how many doorways enter the kitchen and whether people frequently walk through to reach other parts of the house. Layouts that channel traffic around the work zone rather than through it reduce interruptions.
Here’s a helpful reality check from 17 years of Connecticut remodels: if your room is under 100 square feet, a galley or L-shaped layout will likely serve you best. Between 100 and 150 square feet, you gain flexibility for U-shapes or L-shapes with islands. Above 150 square feet, nearly any layout becomes viable, and the decision shifts to lifestyle preferences.
Matching Layout to Cooking and Entertaining Habits
If you cook elaborate meals regularly, prioritize counter space near the stove for ingredient staging and a clear path to the sink for filling pots. Serious bakers benefit from a dedicated zone with lower counter height for kneading dough and rolling pastry. Placing the oven at a comfortable height, separate from the cooktop, reduces bending and burns.
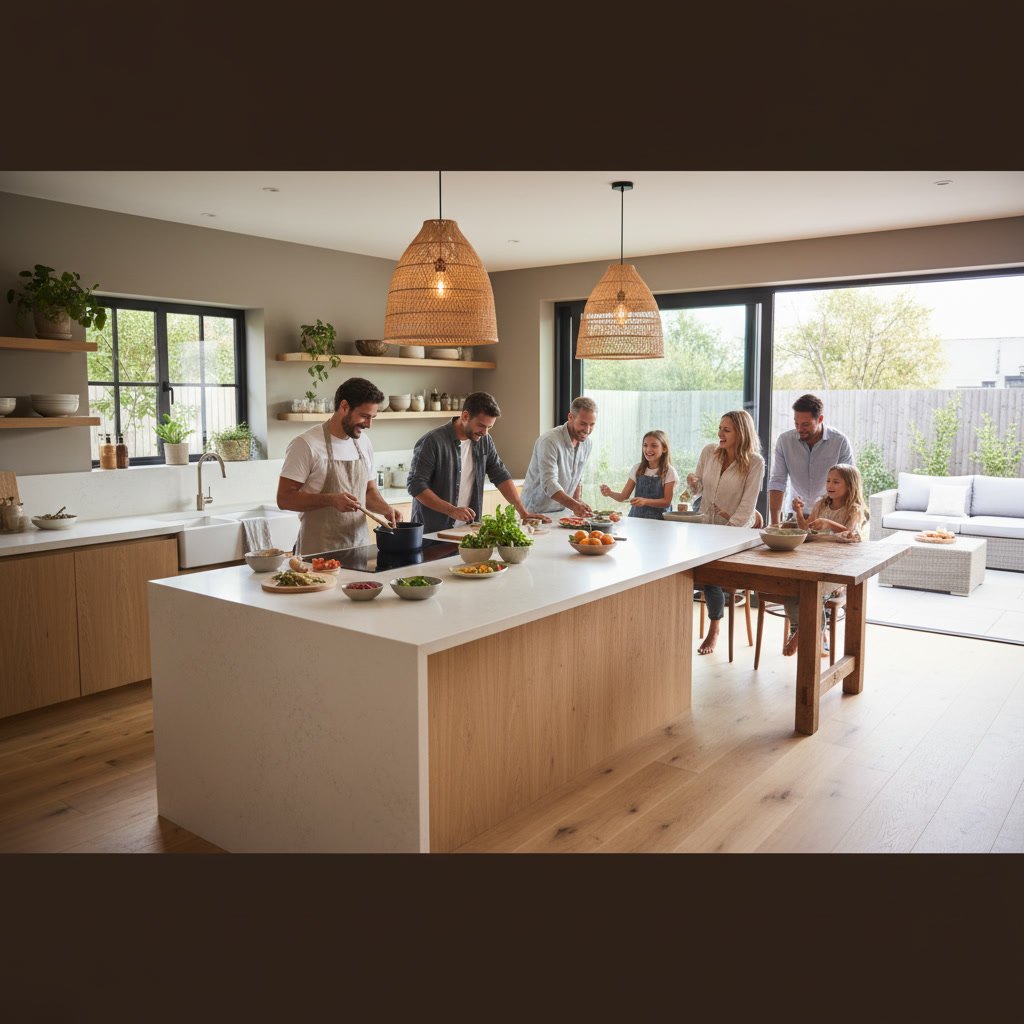
Families who entertain often need layouts that facilitate conversation. An island with bar seating lets guests sit and chat without crowding the work zone. Open layouts connect the kitchen to dining and living spaces, but they also expose clutter and dirty dishes. If you prefer to keep messes hidden until cleanup is complete, a semi-enclosed layout with a peninsula offers a middle ground.
Code Requirements and Clearance Standards
Building codes mandate minimum clearances to ensure safety and accessibility. You need 15 inches of counter space on the handle side of a refrigerator for opening the door and setting down items. Dishwashers require 21 inches of standing room in front when the door is open. Ranges need 12 to 18 inches of counter on one side and 15 inches on the other for safe food handling.
Walkways between opposing cabinets or between an island and perimeter cabinets must measure at least 36 inches, though 42 to 48 inches feels more comfortable. If two cooks work simultaneously, aim for 48 inches. Some municipalities enforce stricter accessibility standards, so verify local codes before finalizing your kitchen remodel plans.
Making the Right Choice for Your Home
The best layout aligns your space, budget, and daily routines. Start by identifying non-negotiables such as existing plumbing locations or structural limitations. Then list your priorities: do you value extra storage, a large island, or an open connection to other rooms? Rank these preferences and compare them against each layout’s strengths.
Visiting showrooms or touring recently completed projects helps you visualize how different configurations feel in real life. Pay attention to how natural light enters the space and whether the layout enhances or blocks it. If you’re uncertain whether a full remodel fits your situation better than a simple cabinet refresh, professional guidance clarifies your options.
CT Home Remodeling LLC has designed and built custom kitchen layouts across central and eastern Connecticut for over 17 years. Our team evaluates your home’s unique characteristics and creates a layout that balances aesthetics, function, and budget. Whether you need a galley makeover in a historic home or a modern island design in a new addition, we bring the expertise to make your vision work.
Ready to start planning your kitchen remodel? Contact CT Home Remodeling LLC at 860-532-7156 to schedule a consultation and discuss which layout will serve your family best for years to come.